


Miranda Moore
RDA Lead Assistant, Beacon Dentistry
01/27/2024
Dental Tip Out Bins: How to Choose and Organize Them

~ 4 minutes to read
What Are Dental Tip Out Bins?
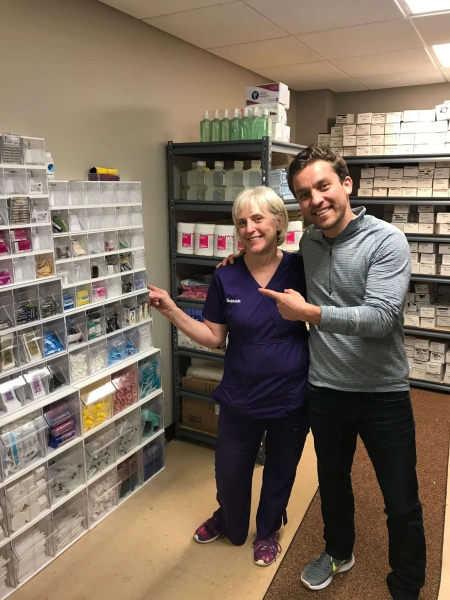
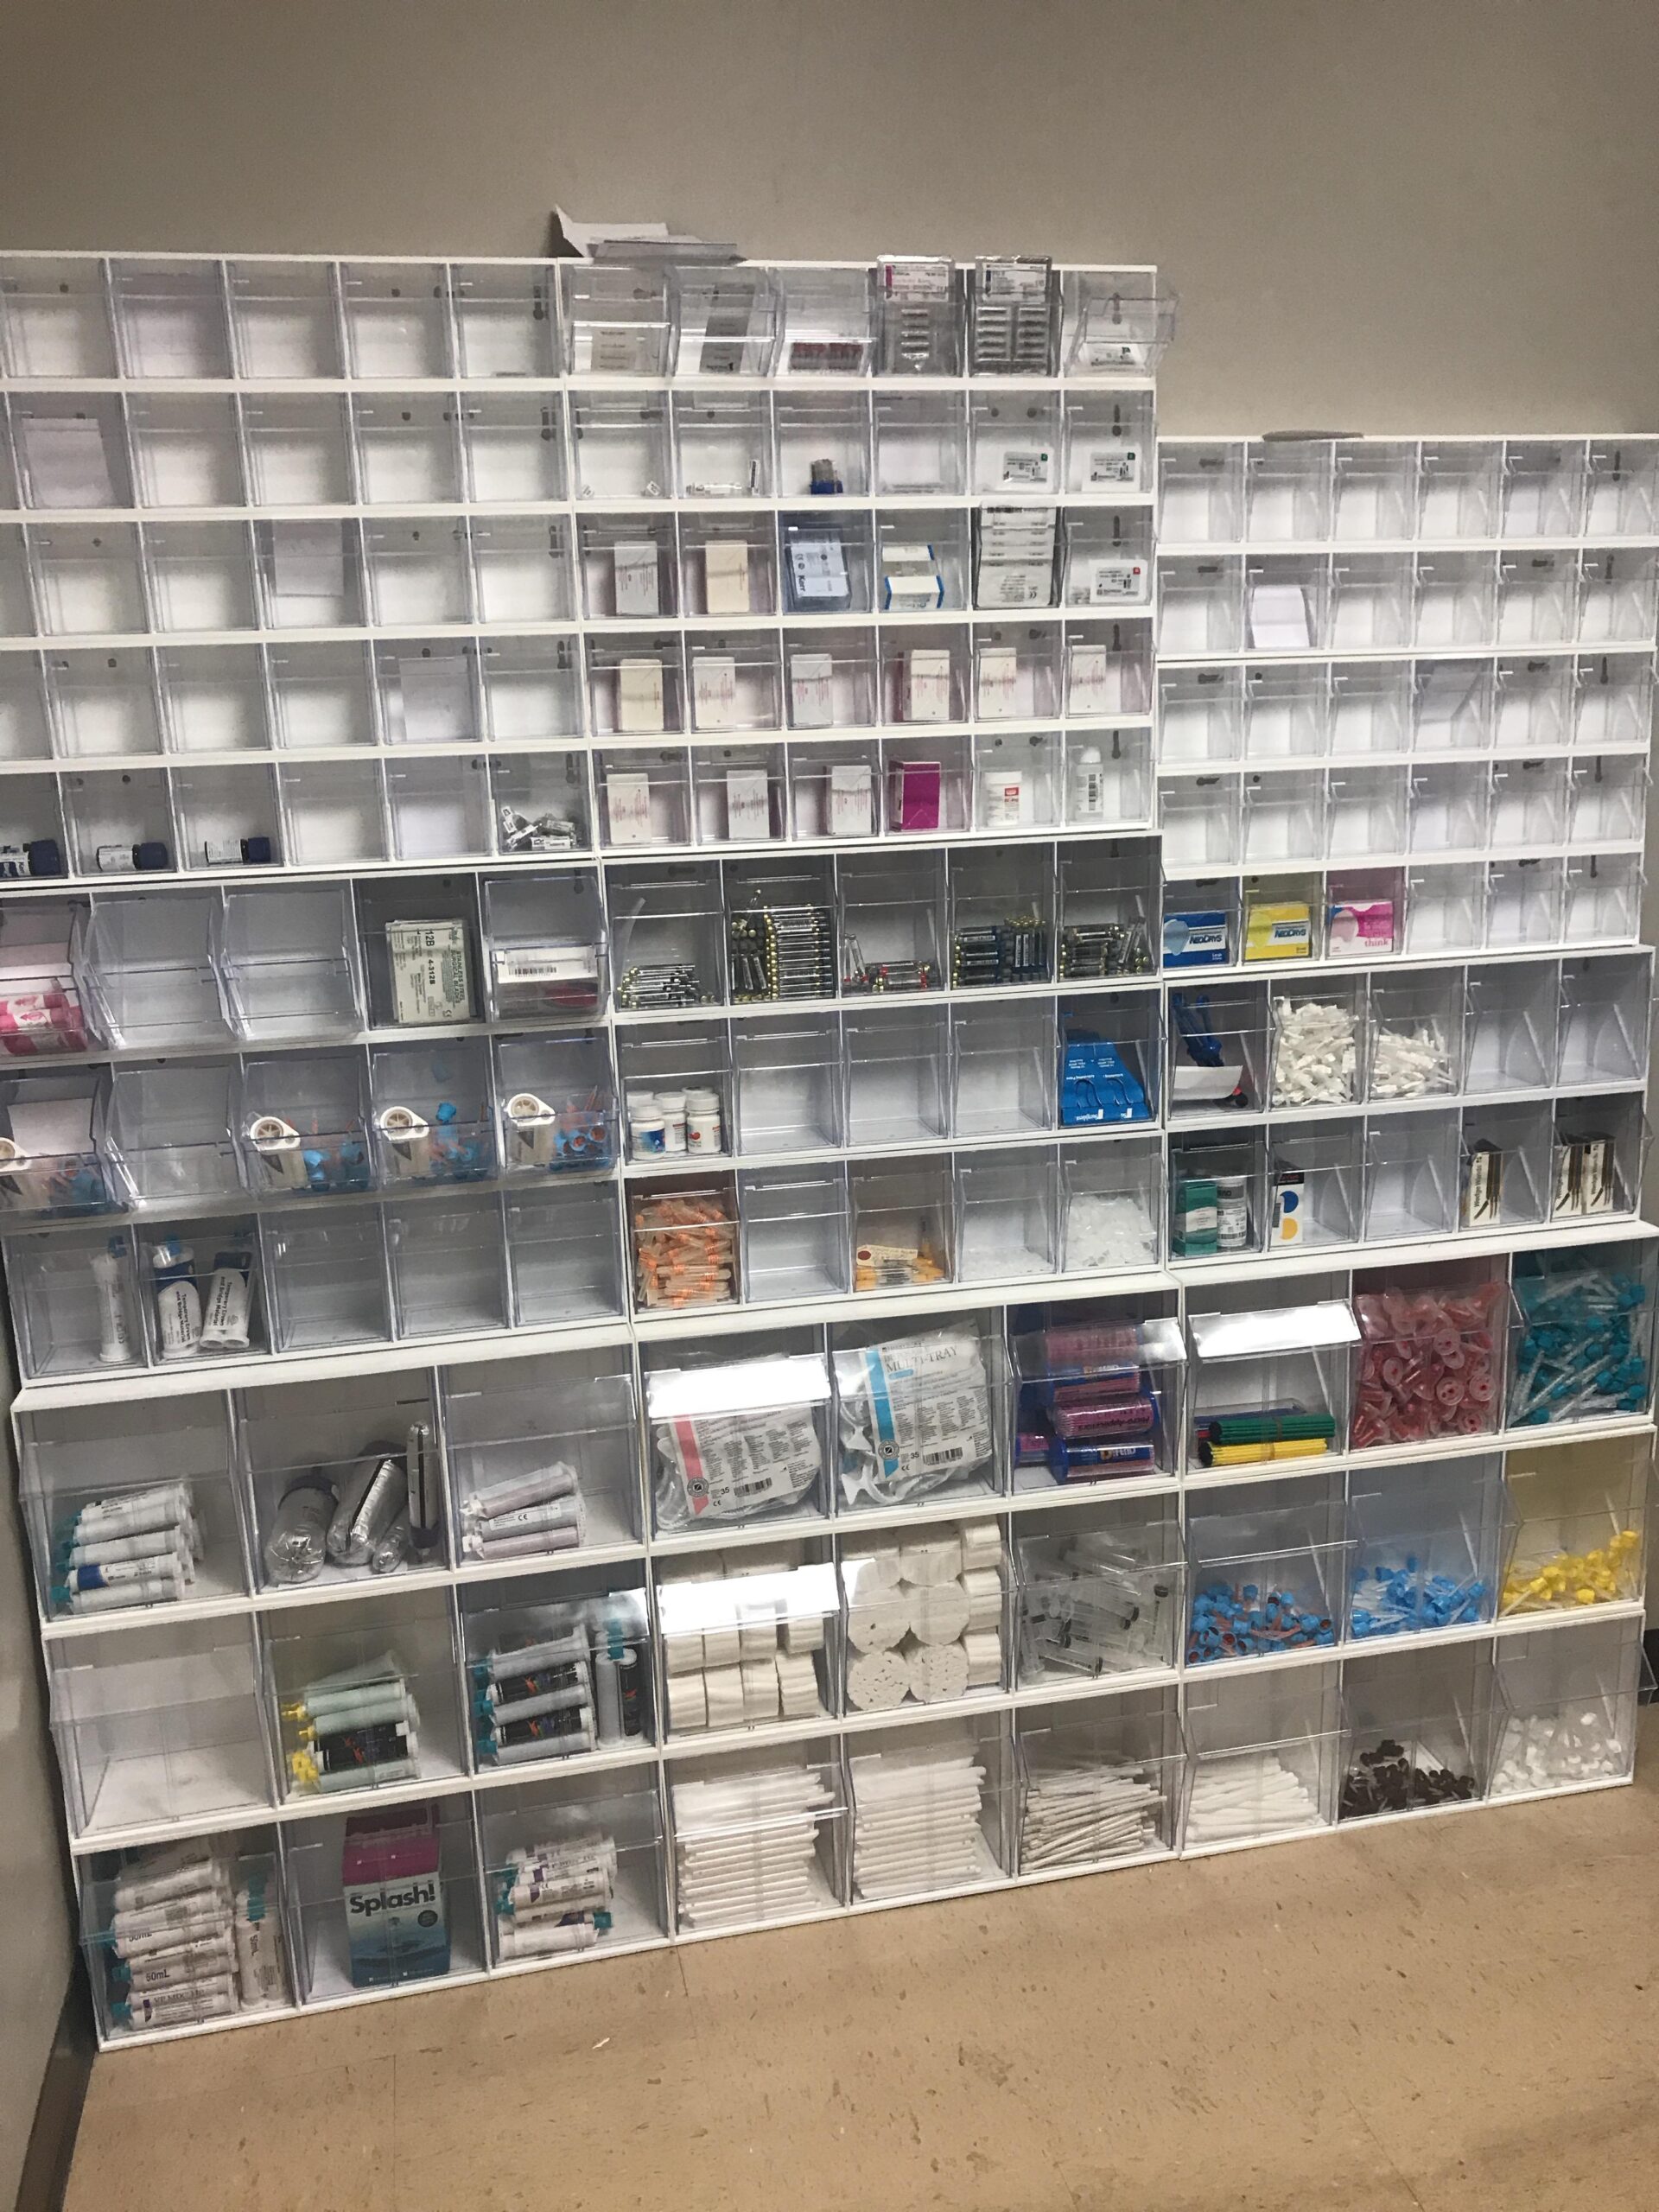
Dental tip out bins are compartmented storage units that keep small, frequently used supplies visible and easy to reach. They can reduce time spent searching for products, make low stock easier to spot, and free up space in treatment rooms.
They work best when each product has one assigned compartment, the bin is clearly labeled, and unopened backup stock is stored in a central inventory area.
Don’t remove a product from its original packaging if doing so would hide its expiration date, lot number, sterility information, storage instructions, or other important details.
How Many Tip Out Bin Sections Does a Dental Office Need?
Use the following estimates as a starting point. Your final setup will depend on the number of products you use, available wall space, treatment types, and how much inventory you keep on hand.
| Practice Area | Suggested Starting Setup |
|---|---|
| 1–2 general treatment rooms | 1 general supply section |
| 3–4 general treatment rooms | 2 general supply sections |
| 5–6 general treatment rooms | 3 general supply sections |
| Hygiene department | Add 1 dedicated hygiene section |
| Each specialty department | Add 1 dedicated specialty section |
A section means one complete group of stacked or wall-mounted compartments assigned to a department or group of treatment rooms. Before ordering, count the products that need compartments and measure the available wall or shelf space.
How to Choose Compartment Sizes
Choose compartment sizes based on the size of the products and how quickly your practice uses them. High-use products and larger packages may need bigger compartments. Small items and products used less often may fit into smaller compartments.
Simplastics currently offers several tip-out-bin configurations that were included in the original version of this guide:
- Two-compartment tip out bin
- Three-compartment tip out bin
- Five-compartment tip out bin
- Six-compartment tip out bin
Don’t choose a configuration based only on the number of compartments. Check each unit’s dimensions, weight limits, mounting requirements, and available colors before ordering.
General Treatment Areas
General treatment areas usually need a mix of compartment sizes. Start by listing the products used during a normal week and grouping them by package size and frequency of use.
Hygiene Areas
A dedicated hygiene section can keep products such as prophy supplies, toothbrushes, toothpaste, and patient-care items separate from general clinical inventory.
Specialty Areas
Orthodontic, endodontic, surgical, and other specialty areas may need their own sections. Separate colors or labels can help employees identify which bins belong to each department.
How to Label and Refill Dental Tip Out Bins
Bins solve the storage problem, but your practice still needs a system for labeling, refilling, and tracking supplies.
- Assign one product to each compartment. Mixing products makes quantities and expiration dates harder to track.
- Use clear labels. Include the product name, size, minimum quantity, and assigned storage location.
- Set a reorder point. Mark the quantity that should trigger the next order.
- Rotate products by expiration date. Place products with the nearest expiration date where they’ll be used first.
- Keep reserve inventory in one location. Don’t hide unopened backup stock across several treatment rooms.
- Review the bins every week. Check for empty compartments, excess stock, expired products, and items stored in the wrong location.
- Update the layout when product use changes. Remove discontinued products and resize compartments when the practice begins using more or less of an item.
Your physical storage and inventory records should match. If the inventory system says a product is available, the assigned bin or reserve location should contain that quantity.
To reduce waste throughout the storage area, follow these steps to prevent expired dental materials.
How to Estimate the Cost of Dental Tip Out Bins
The total cost depends on the number of compartments, bin sizes, mounting hardware, shipping, tax, and installation labor. Supplier prices and discount terms can change, so confirm the current information before placing an order.
Total project cost = bins + mounting hardware + shipping + tax + installation labor
Before ordering:
- Count the products that need compartments.
- Group products by department and frequency of use.
- Measure the available wall or shelf space.
- Confirm the dimensions and weight limits of each unit.
- Check current prices, shipping costs, and return policies.
- Determine whether professional installation is needed.
Purchase enough capacity for normal working stock without creating extra space that encourages overordering.
How to Install Dental Tip Out Bins
See the complete process in the TipOut Bins installation playlist.
Before installation, review the manufacturer’s instructions and confirm that the selected wall can support the bins and their contents. Assemble the sections on a stable surface, place them against the planned mounting area, and check the height and spacing before drilling.
Use mounting hardware that’s appropriate for the unit, wall material, and expected weight. When possible, secure wall-mounted units to wooden studs or properly installed structural support. Don’t assume that the same screws or anchors will work for every wall.
If you can’t confirm what’s behind the wall or how much weight it can support, hire a qualified installer. Improperly mounted bins could pull away from the wall and damage equipment or injure an employee.
If your office is under construction, discuss the bin locations with your contractor before the walls are finished. The contractor may be able to add plywood backing or additional studs in the planned mounting areas.
After installation, fill one section at a time. Add labels, record the assigned quantities, and make sure employees can reach the supplies safely without blocking equipment or work areas.
Turn Better Storage Into Better Inventory Control
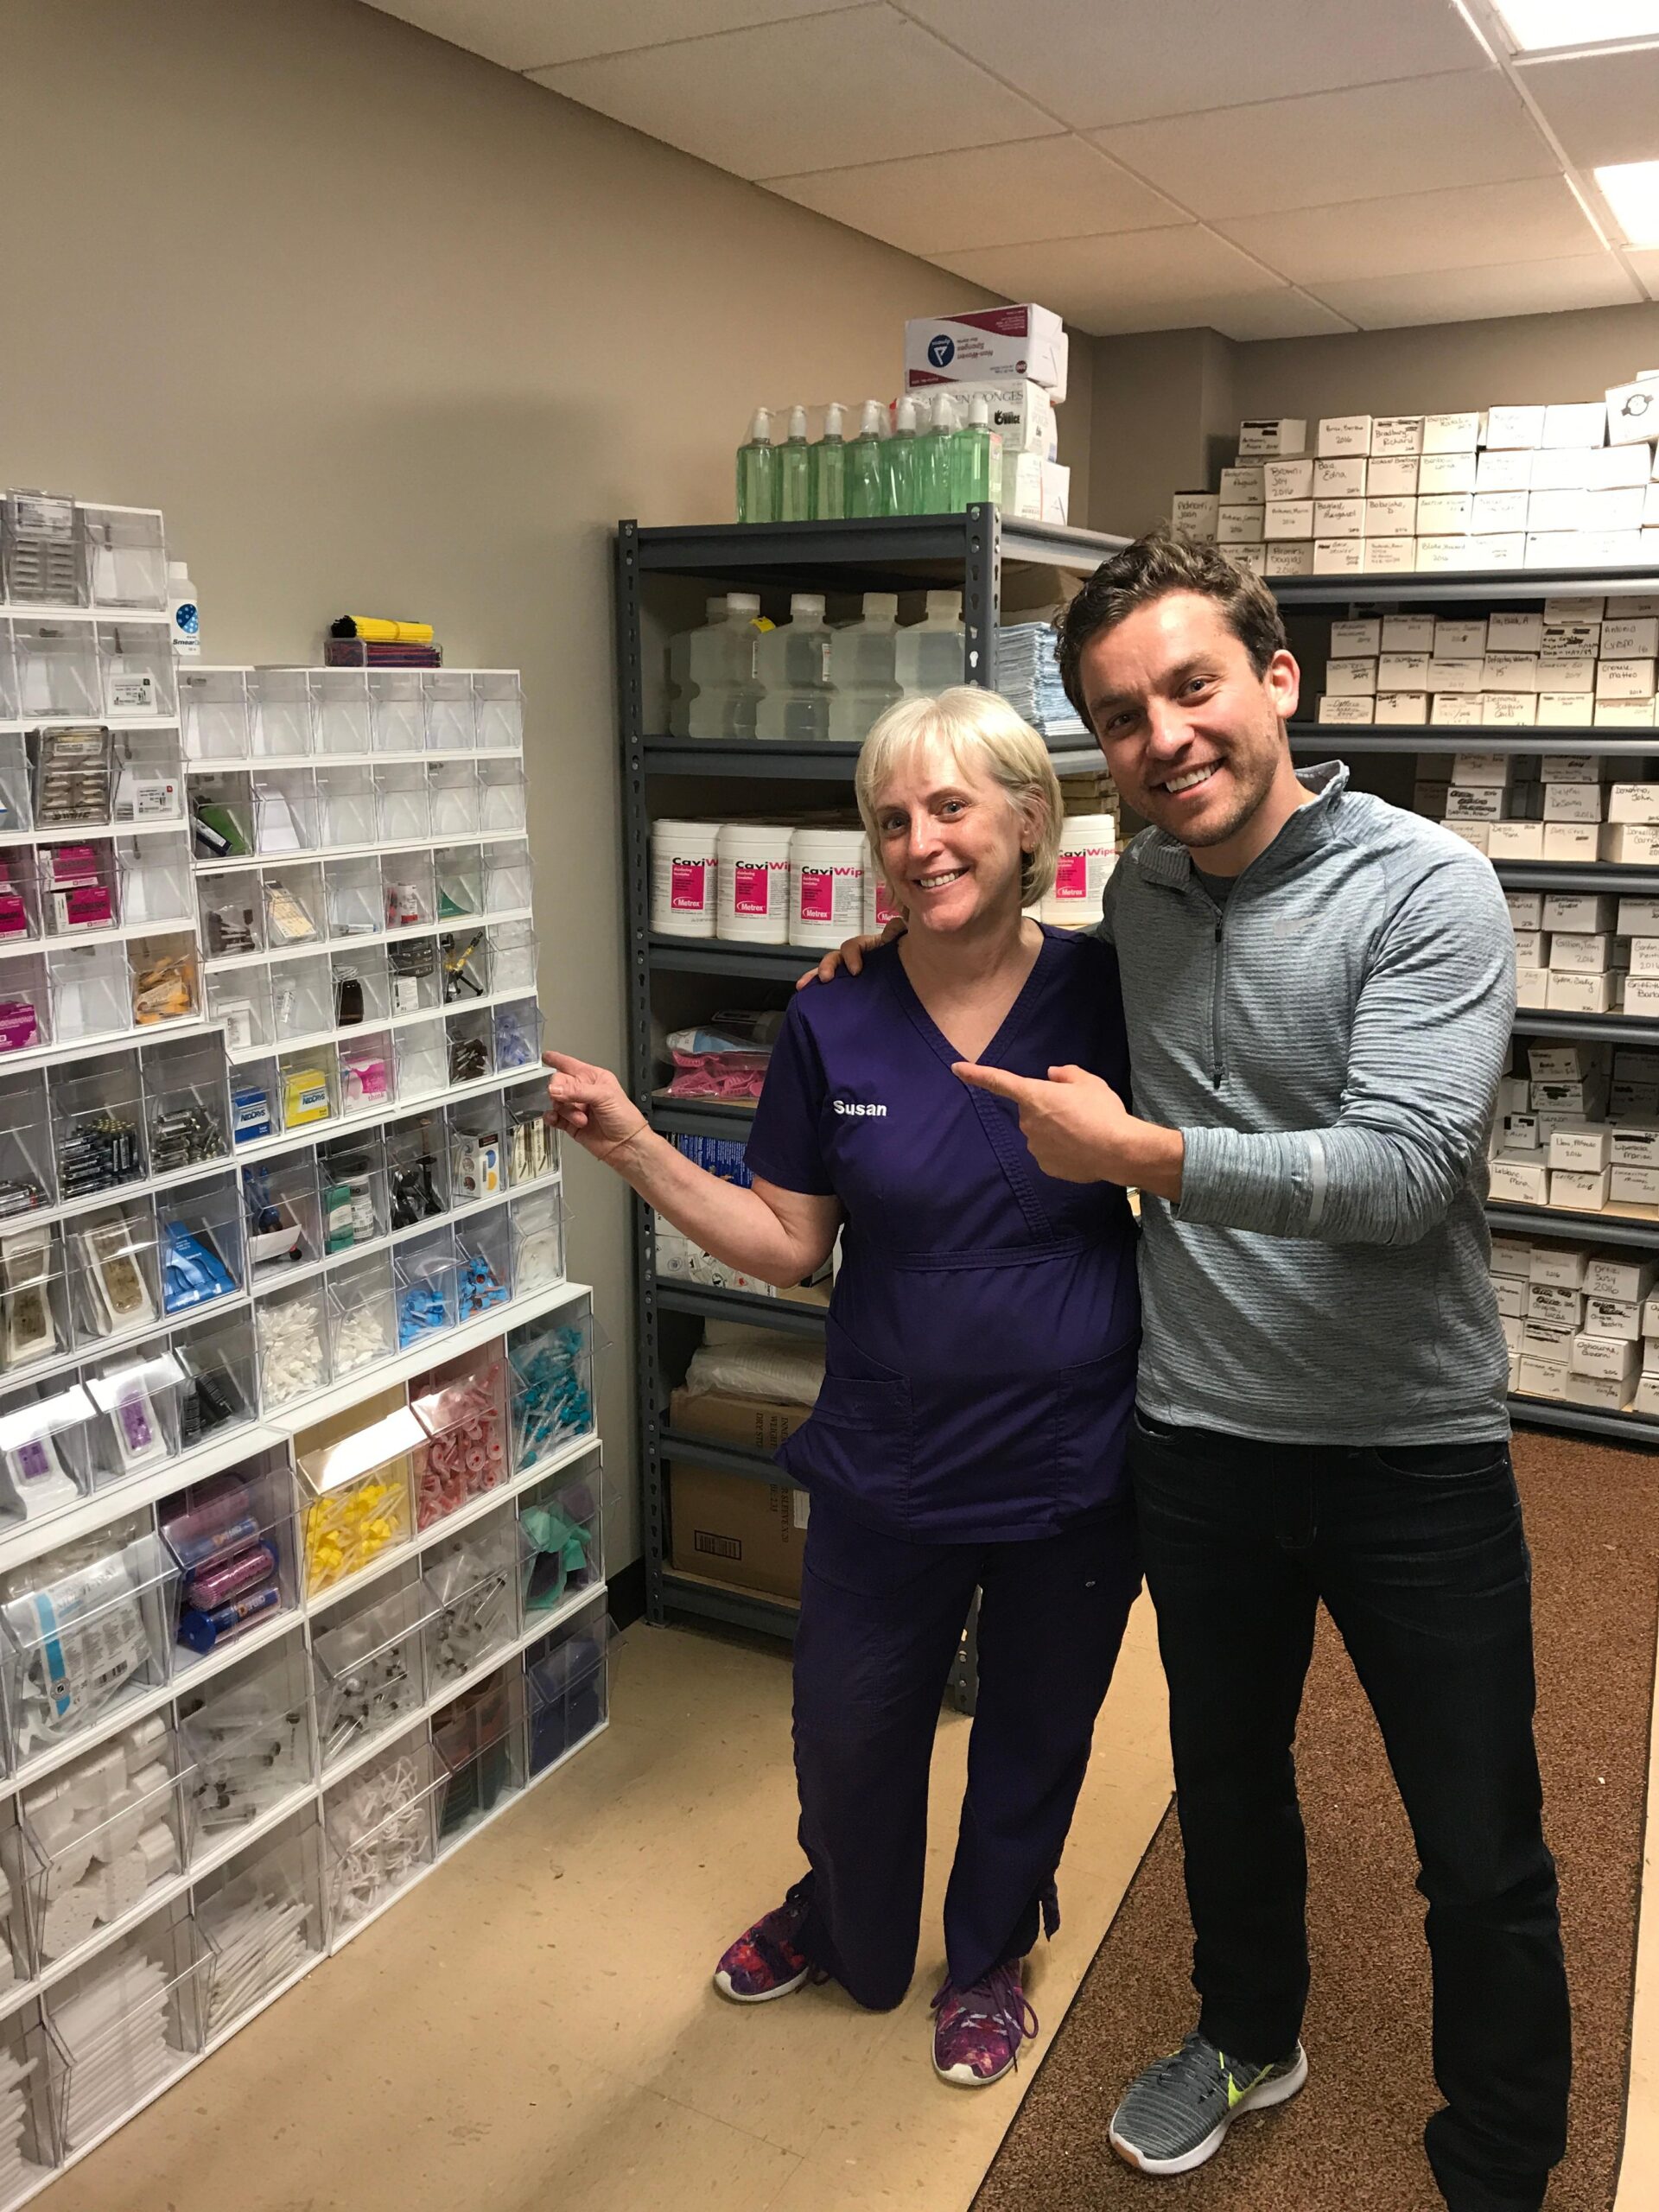
Tip out bins can make supplies easier to see and reach, but the system will only stay organized when your team uses consistent labels, reorder points, and review schedules.
Start with one department or supply category. Track stockouts, emergency orders, expired products, and time spent locating supplies for 30 days. Use the results to adjust the compartment sizes and quantities before expanding the system.
For a complete process that connects storage, usage, and purchasing, review this guide to managing dental inventory.
If your team needs to connect physical storage with centralized inventory and vendor ordering, see how ZenOne works. You can compare suppliers, monitor inventory, and make purchasing decisions based on what your practice needs.
Edited by Paul Martinez
Join 1400+ dental professionals, shop from your favorite
suppliers, compare prices instantly, and save over $17,000/year
Try our platform free for 14 days.
Get the latest ZenOne updates and product launches in your inbox
Don't miss the latest news!
Receive exclusive offers and news straight to your inbox!
Continue reading
10/02/2026
~ 7 minutes to read
09/23/2026
~ 7 minutes to read
09/11/2026
~ 7 minutes to read
Let's discover how we can help you

Tiger Safarov
Hi, I'm Tiger, the CEO at ZenOne, and I'm happy to personally ensure your success with ZenOne. Send me your latest invoice or a statement for a Free Savings Analysis.
Ask me a question:

